Getting Started with the Workshop
This guide walks you through all steps needed to prepare for the ESP32 Distance Sensor Workshop—from forking the repository to running the system on real hardware or in QEMU emulation.
Note
Hardware Setup: This guide focuses on software and Codespace setup. For step-by-step instructions on wiring the ESP32, HC-SR04 sensor, and WS2812 LED strip, see Hardware Setup.
Workshop Setup Flow
The setup process follows these steps:
Fork the repository - Create your personal copy
Create a Codespace - Set up cloud development environment
Install ESP-IDF Web extension - Enable hardware communication
Build the project - Compile firmware
Choose your path - Flash hardware OR run QEMU emulation
Verify operation - Test sensors and LEDs
Estimated Time: 10-15 minutes (first time)
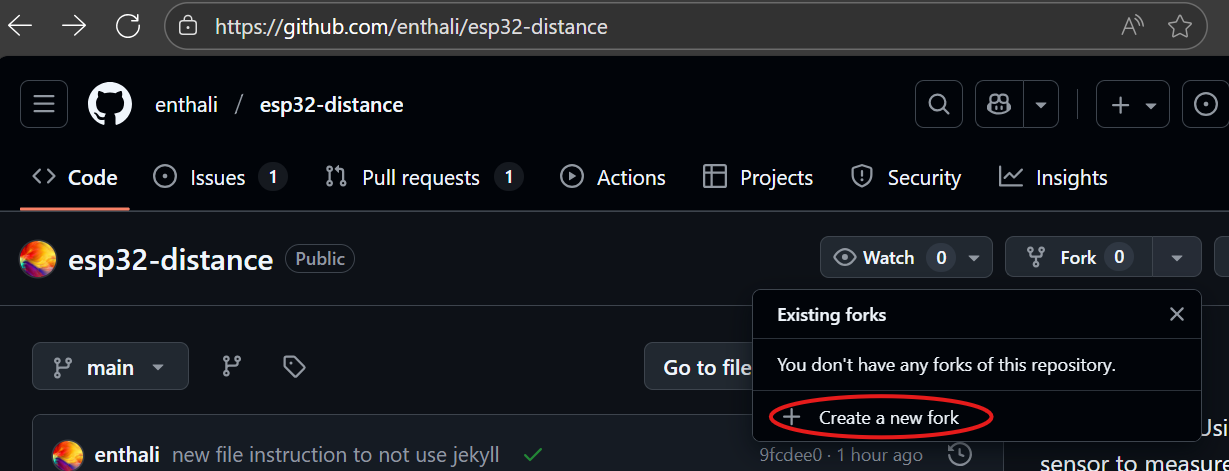
Step 1: Fork the Repository
Start by forking the main repository to your own GitHub account. This gives you a personal copy where you can make changes freely.
How to Fork:
Navigate to github.com/enthali/esp32-distance
Click the “Fork” button in the top-right corner
On the fork creation page, click “Create fork”
Tip
You only need to fork once! All your workshop work will happen in your fork. You can delete and recreate Codespaces as needed without forking again.
Optional: Break Upstream Link
By default, your fork maintains a connection to the original (“upstream”) repository. If you want to avoid accidentally creating pull requests to the upstream project, you can remove this link:
git remote remove upstream
You can always re-add it later if you want to sync changes from the main repository.
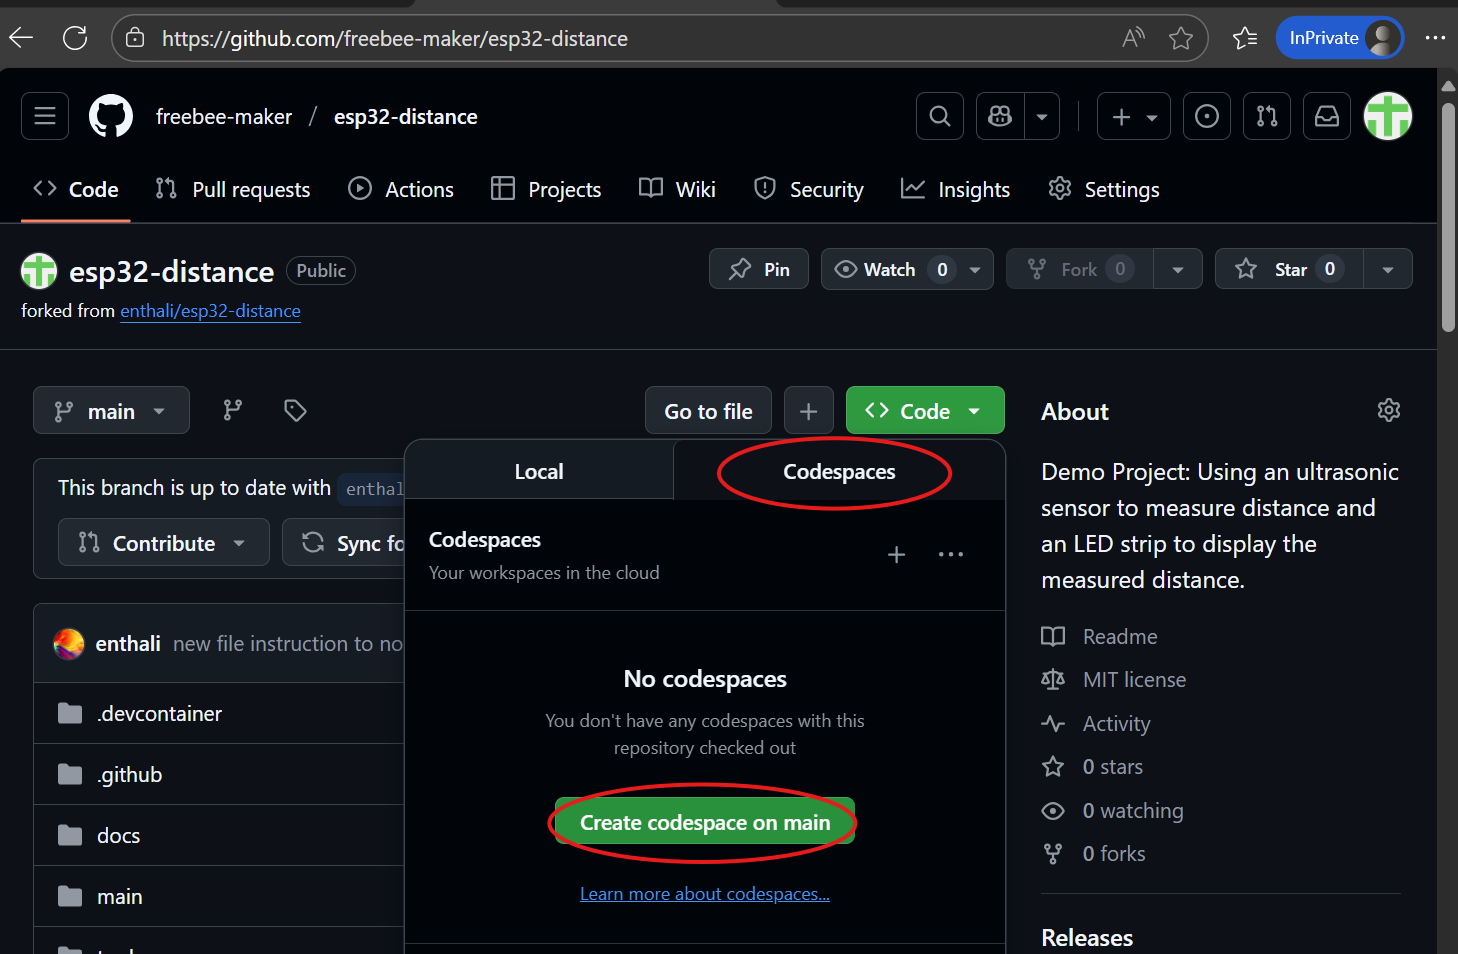
Step 2: Create a Codespace
Create a cloud-based development environment with all tools pre-installed.
How to Create a Codespace:
In your forked repository, click the green “Code” button
Select the “Codespaces” tab
Click “Create codespace on main”
Note
Initial Setup Time: The first Codespace creation takes 5-10 minutes. During this time, the following are automatically installed:
ESP-IDF v5.4.1 toolchain (~1GB)
All required Python packages
VS Code ESP-IDF extensions
QEMU emulator and tools
Project dependencies
This only happens once! Subsequent startups take just 30-60 seconds.
What to Expect:
Browser window opens with VS Code interface
Terminal shows installation progress
Extensions load automatically
Project files appear in Explorer sidebar
Tip
Quick Reopen: After the initial setup, reopen your Codespace anytime by clicking the “Code” button and selecting your existing Codespace. No need to recreate!
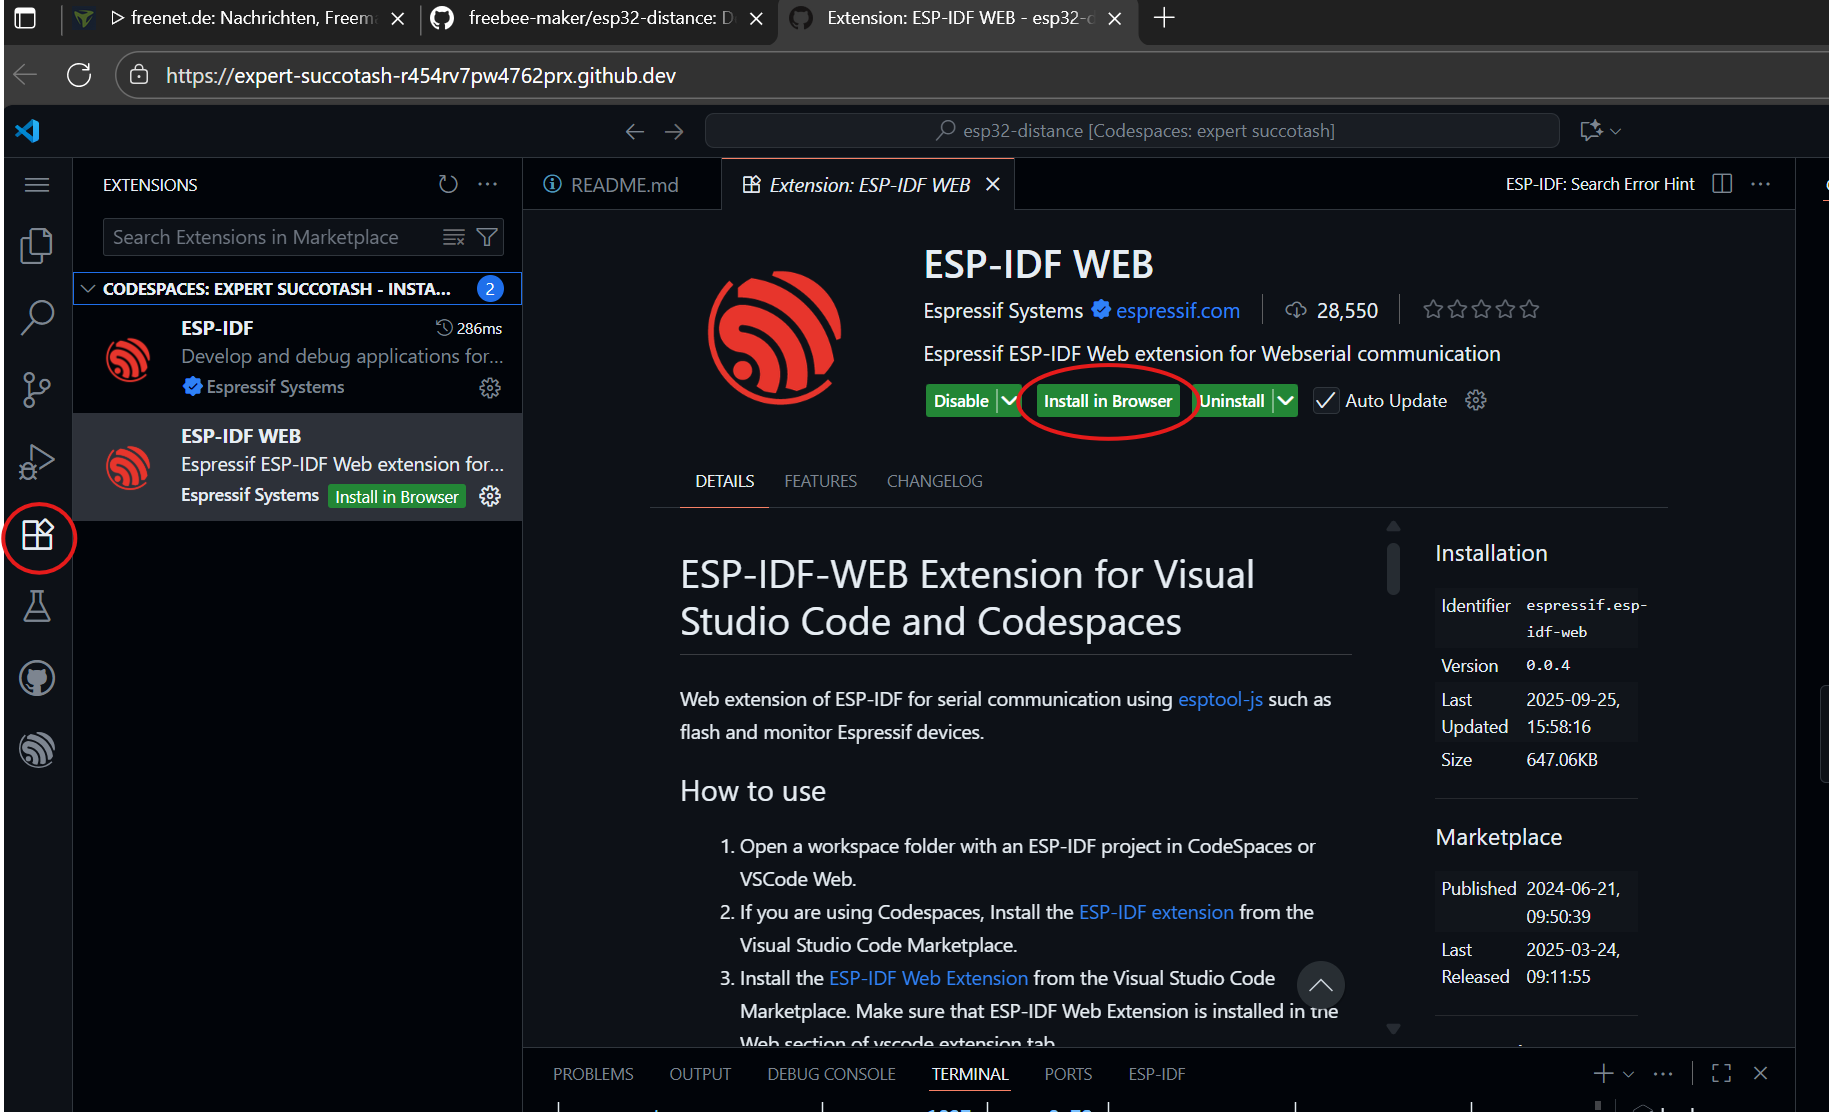
Step 3: Install ESP-IDF Web Extension
The ESP-IDF Web extension enables direct serial communication between your Codespace and ESP32 hardware using your browser’s Web Serial API.
Warning
Required for Hardware Flashing: Without this extension, you cannot flash or monitor physical ESP32 boards from Codespaces. QEMU emulation works without it.
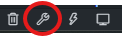
Check if Extension is Installed:
Look for the “Flash” and “Monitor” buttons at the bottom of VS Code:
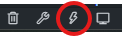
If you don’t see these buttons, install the extension:
Installation Steps:
Click the Extensions icon (left sidebar)
Search for “ESP-IDF Web”
Click the green “Install in browser” button
Grant permission when prompted for serial port access
Supported Browsers:
✅ Google Chrome (v89+)
✅ Microsoft Edge (v89+)
✅ Opera (v75+)
✅ Arc Browser
❌ Firefox (not supported)
❌ Safari (not supported)
❌ Mobile browsers (not supported)
Tip
Best Experience: Use the latest version of Chrome or Edge on desktop for reliable serial communication and hardware flashing.
Step 4: Personalize Your Environment (Optional)
Customize VS Code to your preferences:
Change Color Theme:
Press
Ctrl+KthenCtrl+T(orCmd+KCmd+Ton Mac)Or: Command Palette (
F1) → “Color Theme”Choose from light or dark themes
Adjust Editor Settings:
Click gear icon (lower left) → “Settings”
Adjust font size, tab spacing, line numbers
Settings persist across Codespace sessions
Install Additional Extensions:
C/C++ IntelliSense (usually pre-installed)
Markdown Preview Enhanced
GitHub Copilot (if you have a subscription)
GitLens (for advanced Git features)
Step 5: Explore the Codespace Interface
Familiarize yourself with the key areas of VS Code:
Left Sidebar Icons:
Explorer - Browse project files and folders
Search - Find text or symbols across codebase
Source Control - Git version control and commits
Run & Debug - Launch and debug tasks
Extensions - Discover and install extensions
GitHub - Access pull requests and issues
ESP-IDF Explorer - ESP32-specific tasks and configs
Bottom Bar:
Build Button - Compile the project (lightning bolt icon)
Flash Button - Upload firmware to ESP32
Monitor Button - View serial output
Clean Button - Clean build artifacts
Terminal - Command line access
Tip
Try a Test Build: Click the Build button now to verify your Codespace is set up correctly. Build takes 1-2 minutes and helps spot issues early!
Step 6: Build the Project
Compile the firmware using ESP-IDF:
Using VS Code Button (Recommended):
Click the Build button (lightning bolt) at the bottom
Watch the terminal panel for build progress
Wait 1-2 minutes for compilation to complete
Using Command Line:
# Full build
idf.py build

# Clean build (if needed)
idf.py fullclean build
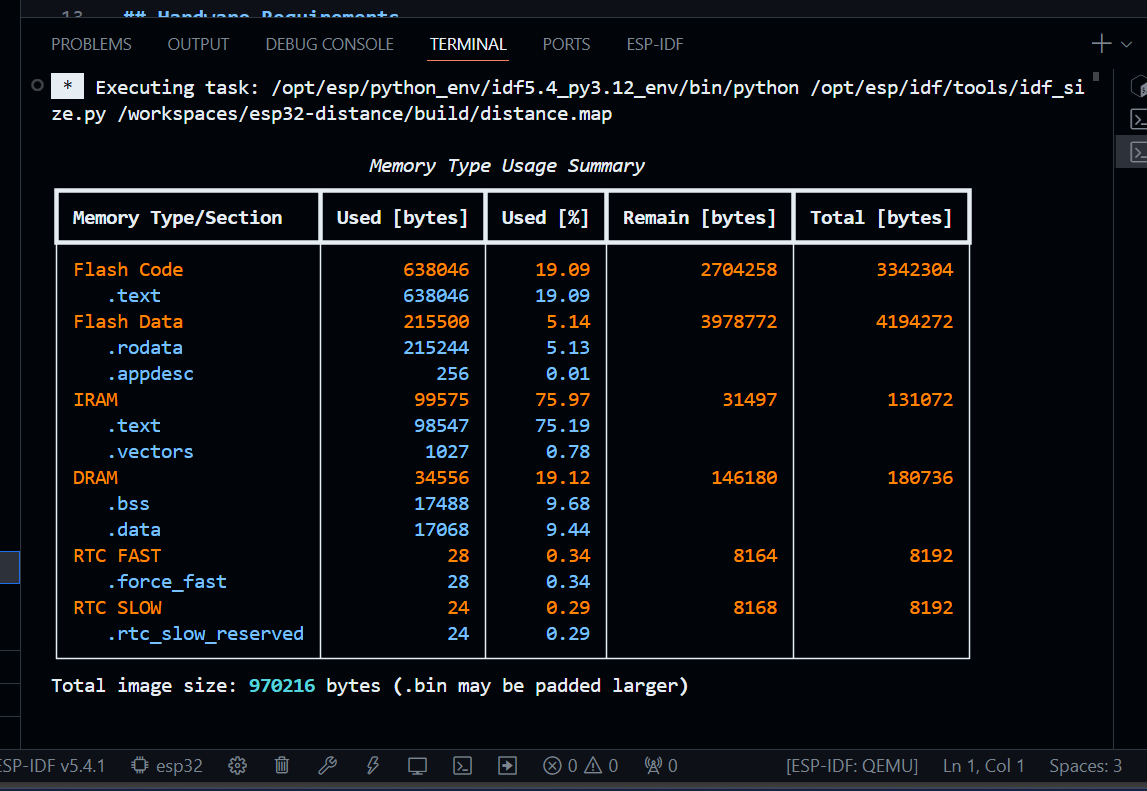
Expected Output:
...
Project build complete. To flash, run:
idf.py flash

[100%] Built target app
Note
Build Time: First build takes 1-2 minutes. Subsequent incremental builds are much faster (10-30 seconds).
Troubleshooting Build Errors:
Missing component: Run
idf.py fullcleanthen rebuildPermission denied: Close and reopen terminal
Out of space: Delete build folder:
rm -rf build
Step 7: Choose Your Path
You have two options for testing the project:
Path A: Flash to Real Hardware
Requirements:
ESP32 development board
USB cable connected
Hardware assembled (see Hardware Setup)
ESP-IDF Web extension installed
Flash Steps:
Connect ESP32 via USB to your computer
Press Reset Button on ESP32 to enter flash mode (if needed)
Click “Flash” Button at bottom of VS Code
Select Serial Port when prompted:
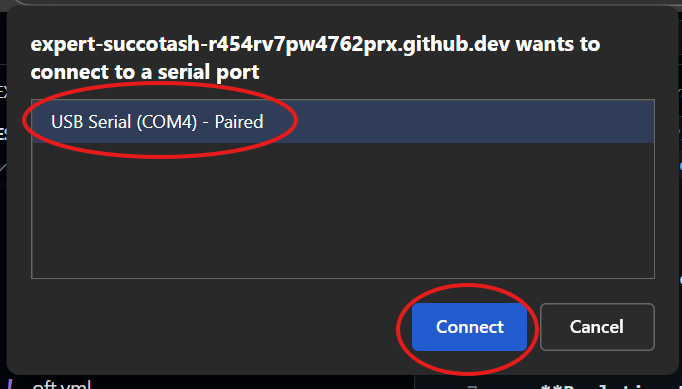
Grant Permission for browser serial port access
Wait for Flashing to complete (~30 seconds)
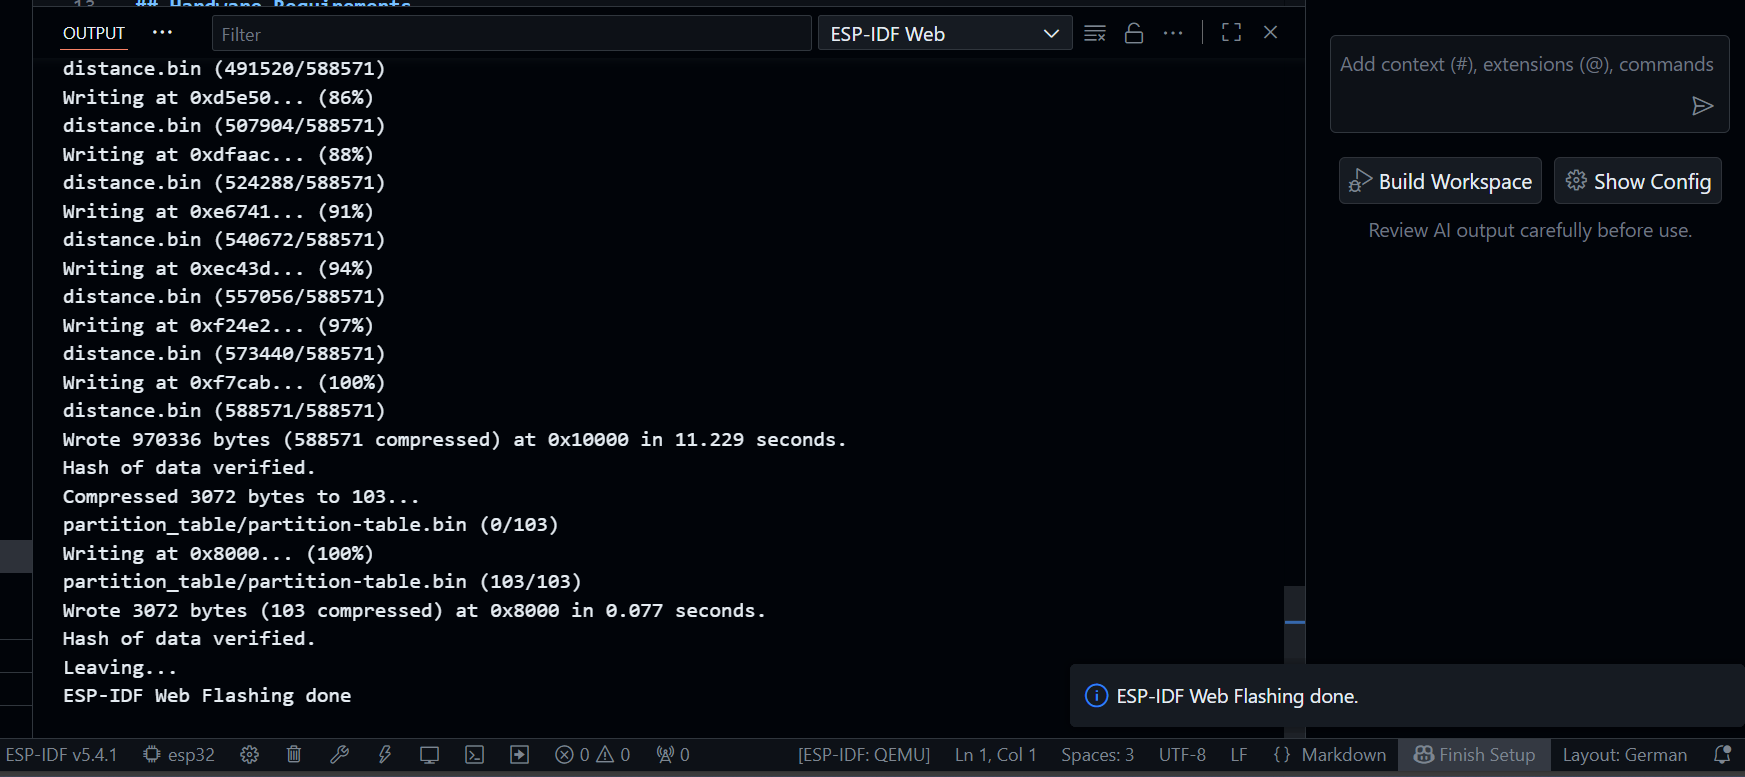
Expected Result:
Terminal shows “ESP-IDF Web: Flashing done.”
ESP32 reboots and starts running firmware
LEDs perform startup test sequence
Serial output shows boot messages
Path B: Run in QEMU Emulator
Requirements:
None! QEMU is pre-installed in Codespace
QEMU Steps:
Build the project (if not already done)
Start QEMU using VS Code task or command line
Using VS Code Task:
Press
Ctrl+Shift+P(orCmd+Shift+Pon Mac)Type “Tasks: Run Task”
Select “Run QEMU (No Debug)”
Using Command Line:
# Run QEMU with network support
./tools/qemu/run_qemu.sh
Expected Output:
🚀 Starting ESP32 Distance Sensor in QEMU
📡 Starting network bridge...
🌐 HTTP proxy running on http://localhost:8080
✅ QEMU started successfully

Distance Sensor Simulator:
🟢🟢🟢⚪⚪⚪⚪⚪⚪⚪ (15cm)
Access Web Interface:
Open your browser to: http://localhost:8080
Tip
GitHub Codespaces Port Forwarding: Codespaces automatically forwards port 8080, so you can access the emulated web interface from your local browser!
Step 8: Monitor the Device
View real-time serial output from the ESP32:
Using VS Code Button:
Click the “Monitor” button at the bottom of VS Code.

Using Command Line:
# For hardware
idf.py -p /dev/ttyUSB0 monitor

# For QEMU (UART0 output)
./tools/qemu/uart0_terminal.sh
Serial Monitor Output:
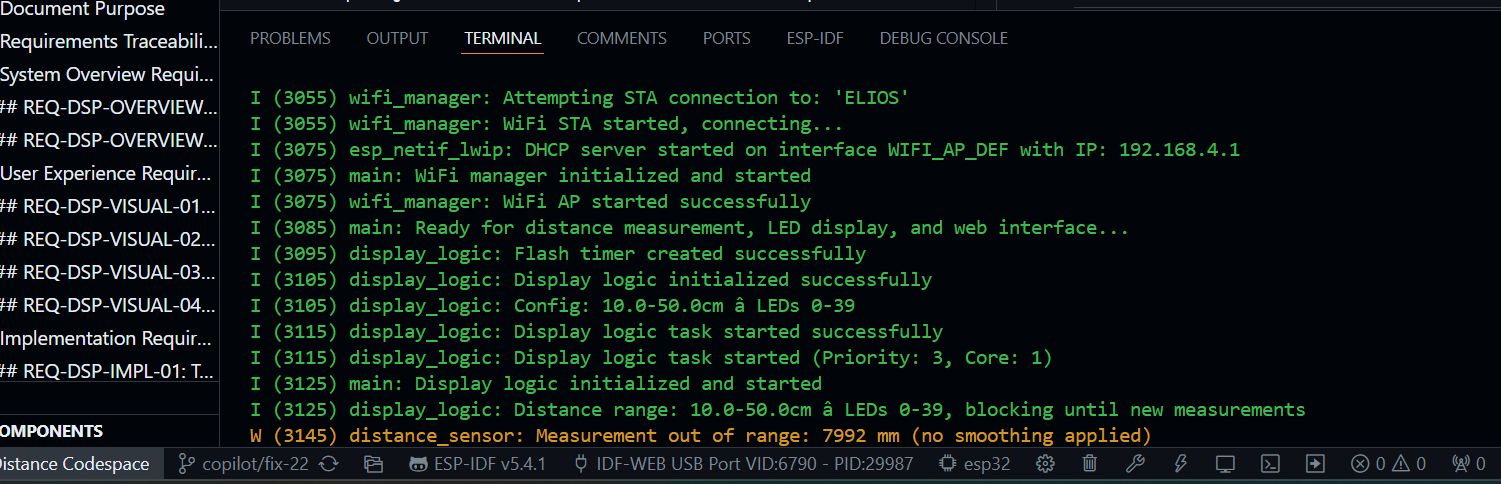
What You’ll See:
Boot messages and ESP-IDF version
Component initialization logs
WiFi connection status
Distance sensor readings (every 100ms)
LED update notifications
Exit Monitor: Press Ctrl+]
Step 9: Experience the Running System
Now that your device is running, explore its features:
LED Test Sequence:
At boot, LEDs perform a test pattern:
Red sweep (left to right)
Green sweep (right to left)
Blue sweep (left to right)
All LEDs off
Distance Measurement:
Move hand in front of sensor (10-50cm range)
Watch LED position track your hand
Green LED = normal range
Red LED = out of range
WiFi Access Point:
Look for WiFi network: “ESP32-Distance-Sensor”
Connect (no password required)
Browser should open captive portal automatically
If not, navigate to
http://192.168.4.1
Web Interface:
View current distance reading
See system status
Access configuration (when implemented)
Tip
QEMU Users: Web interface accessible at http://localhost:8080 when
QEMU is running with network support.
Step 10: Familiarize with Repository Structure
Explore the project to understand where everything is:
Key Directories:
esp32-distance/
├── main/                          # Application code
│   ├── main.c                     # Entry point
│   └── components/                # Modular components
│       ├── distance_sensor/       # HC-SR04 interface
│       ├── led_controller/        # WS2812 control
│       ├── display_logic/         # Distance→LED mapping
│       ├── config_manager/        # NVS configuration
│       ├── web_server/            # HTTP server
│       └── startup_tests/         # Boot checks
├── docs/                          # Documentation (Sphinx)
├── tools/                         # QEMU, certificates, scripts
└── .devcontainer/                 # Codespaces config
Important Files:
CMakeLists.txt- Build configurationsdkconfig- ESP-IDF settingsREADME.md- Project overviewidf_component.yml- Component dependencies
Tip
VS Code Explorer: Use the file explorer (left sidebar) to navigate and open files. Double-click to open, single-click to preview.
Next Steps: Workshop Exercises
Ready to start coding? Move on to:
Workshop Exercises - Hands-on challenges and learning activities
Exercise Ideas:
Modify LED colors and patterns
Implement distance-based color zones (red/yellow/green)
Add sound alerts (if using buzzer)
Customize web interface
Create your own features!
Troubleshooting
Common Issues:
Codespace won’t start:
Check GitHub status page for service issues
Verify you haven’t exceeded free tier limits
Try deleting and recreating Codespace
Build fails:
Run
idf.py fullcleanthen rebuildCheck for syntax errors in code
Verify all components exist
Flash button missing:
Install ESP-IDF Web extension (see Step 3)
Use supported browser (Chrome/Edge)
Grant serial port permissions
Serial port not found:
Check USB cable supports data (not just power)
Try different USB port
Install USB-to-serial drivers (CH340, CP2102)
LEDs not lighting:
Check power supply (USB may be insufficient)
Verify GPIO12 connection to DIN
Test with fewer LEDs or lower brightness
Check LED strip polarity (DIN not DOUT)
Sensor not responding:
Verify GPIO13/14 connections
Check sensor power (5V)
Ensure nothing blocking sensor
Test in QEMU first to verify software
Getting Help
During Workshop:
Ask facilitator (if in guided workshop)
Use GitHub Copilot for immediate help
Check Development Guide for detailed guides
Collaborate with other participants
After Workshop:
Main documentation at ESP32 Distance Sensor
—
You’re all set! Proceed to Workshop Exercises and start building! 🚀
Have fun, experiment, and happy coding! 🎉